PuTTY
Introduction[edit]
PuTTY is an SSH and telnet client that runs on Windows, Linux and UNIX. This terminal emulator establishes a TCP/IP connection and works with multiple network protocols.
 Helpful Hint
How to Install Putty on Windows[edit]
Step 1: Download the installation package[edit]
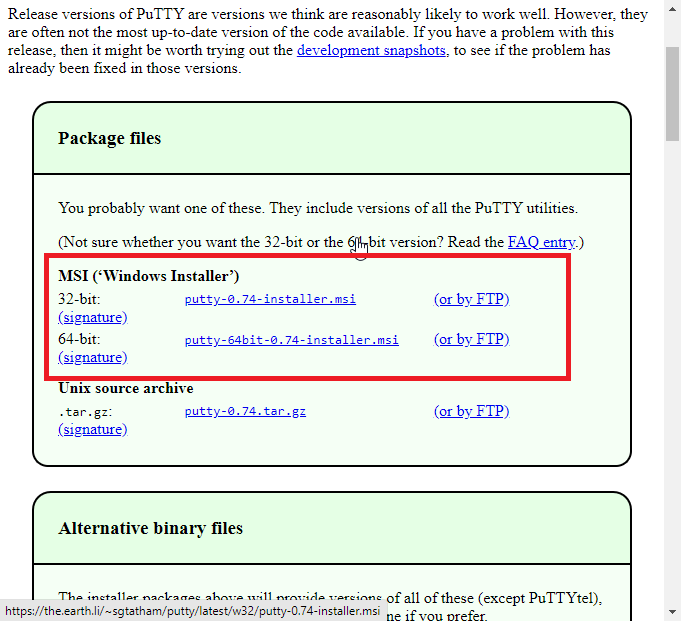
Launch your favourite browser and download Putty from the official site: www.chiark.greenend.org.uk/~sgtatham/putty/latest.html
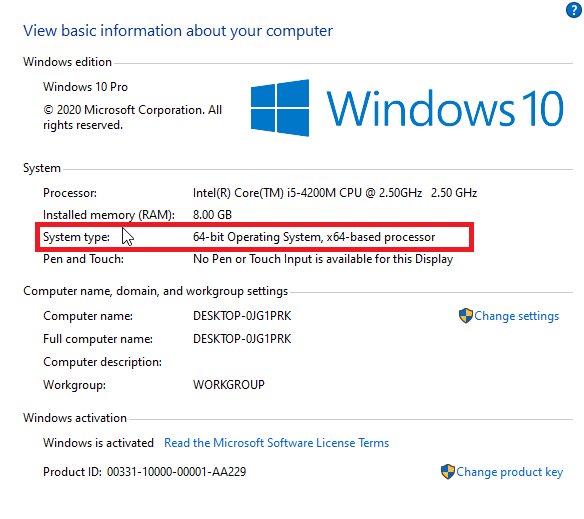
Click putty-version-installer.msi if you're on a 32-bit computer or
putty-64bit-version-installer.msi if your PC has a 64-bit processor.
Step 2: Installing PuTTY[edit]
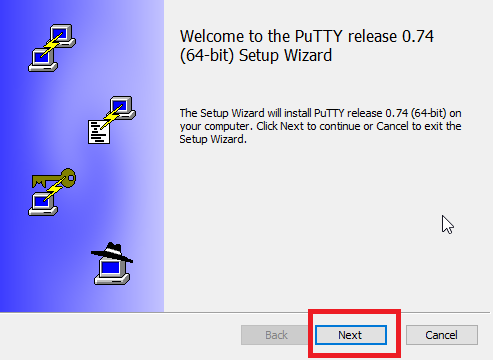
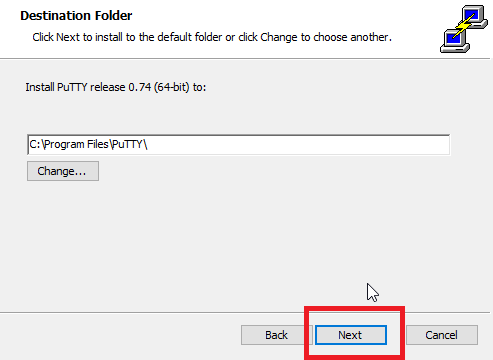
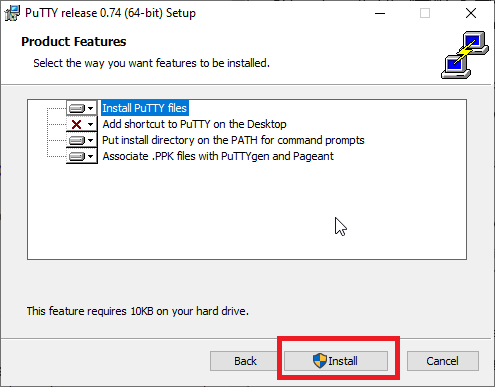
You must have administrative privileges to install PuTTY. Launch the installer by double-clicking the downloaded file. Click "Next" throughout the wizard to Install PuTTY with all the default (recommended) options. You may change the installation directory. You can choose whether to create a desktop shortcut and associate PuTTY with .ppk files (private keys for connecting securely to other computers). These options are enabled by default.
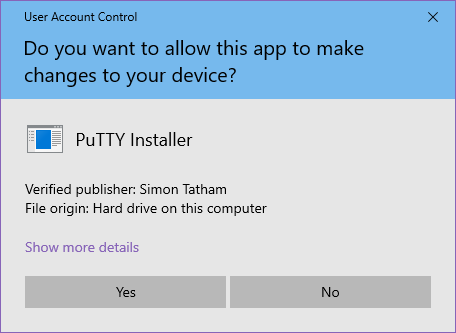
You may get this prompt depending on your current UAC settings. Click "Yes".
The installer will run for a few seconds. Untick "view the README file" and click "Finish".
Congratulations! You've just installed PuTTY.
[OPTIONAL] Step 3: Launching PuTTY[edit]
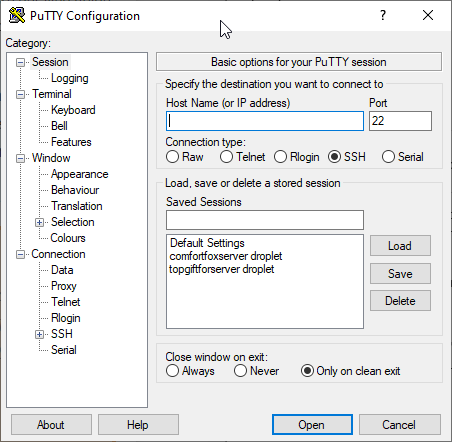
Run PuTTY by double-clicking on its newly created desktop shortcut or by searching "PuTTY" on the Start Menu.
[OPTIONAL] Step 4: Using 256 Color On PuTTY[edit]
By default PuTTY is only 8 colors. The CoderMerlin Shell supports 256 Colors. We can tell PuTTY to connect using all the colors so we can have nice Syntax Highlighting.
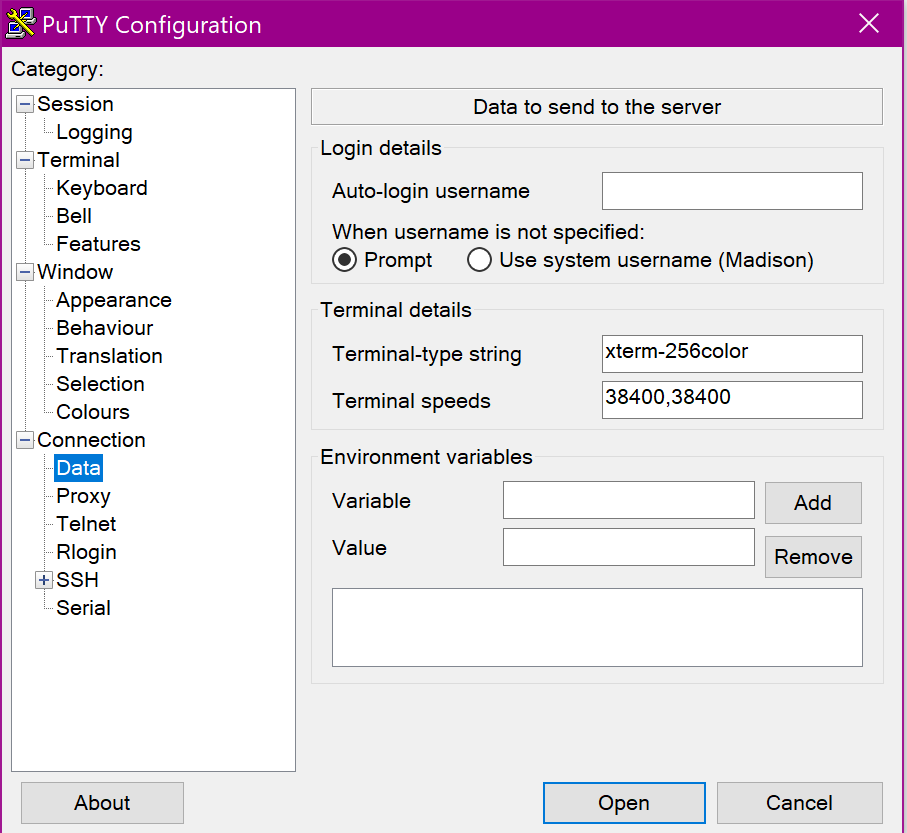
On the Profile that you have created for CoderMerlin Login, Under Connection on the left side bar, Click on Data.
On the Page that opens, you ware going to change the setting, Terminal-type string, to be xterm-256color.
This will change the connection type and you will have access to all the colors. Make sure you then save your Profile.
[OPTIONAL] Step 5: Changing the font on PuTTY in order to show missing Unicode characters[edit]
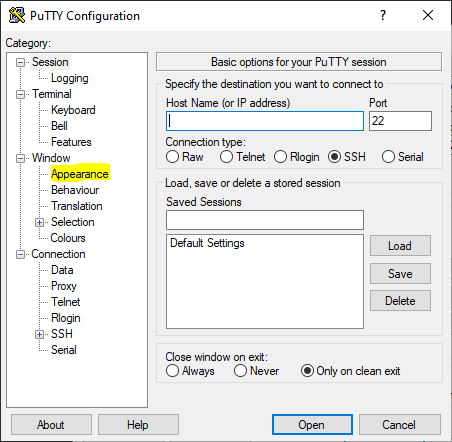
Start by opening the PuTTY application and selecting the 'Appearance' tab.
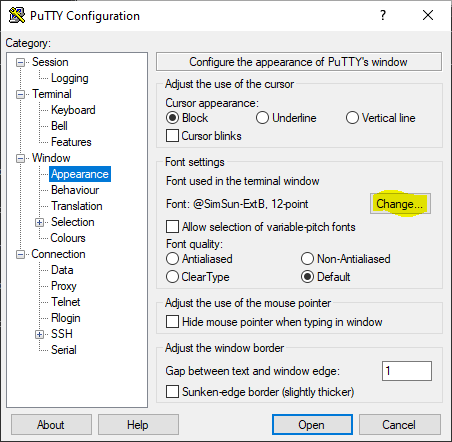
Once you are on the 'Appearance' tab, click on the 'Change' button.
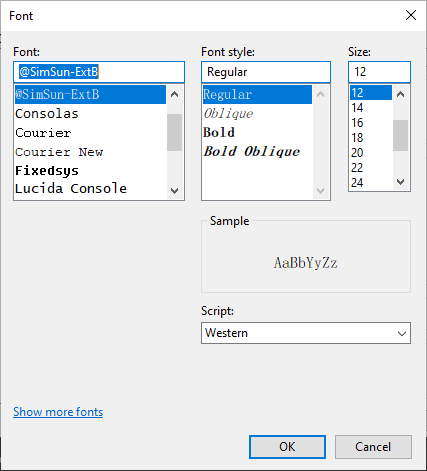
Once you click the 'Change' button you will be confronted with a list of different font styles and scaling options.
Choose a font, I suggest @SimSun-Ext B, and then click 'OK'. Now you have a new font that can fit your exact needs.

